

We know that plywood is a versatile material known for its Strength, Affordability and Flexibility in various construction and woodworking projects. In some cases, plywood furniture is even stronger than regular wooden furniture. But when it comes to its finishing, it becomes a little tricky.
Achieving a flawless finish on this furniture would require careful attention to detail and a mastery of finishing techniques. To help you achieve that flawless beauty, we have mentioned a few tips below for your plywood surface finishing.
This applies even when it comes to plywood. The quality of the plywood itself is the cornerstone of an impeccable polish. If you select premium plywood, it will have smoother surfaces with fewer voids.
Brownie point? It is so eye-catching and the final finishing becomes quicker, too.
Sand everything well, and voila, you get the finishing touches right there.
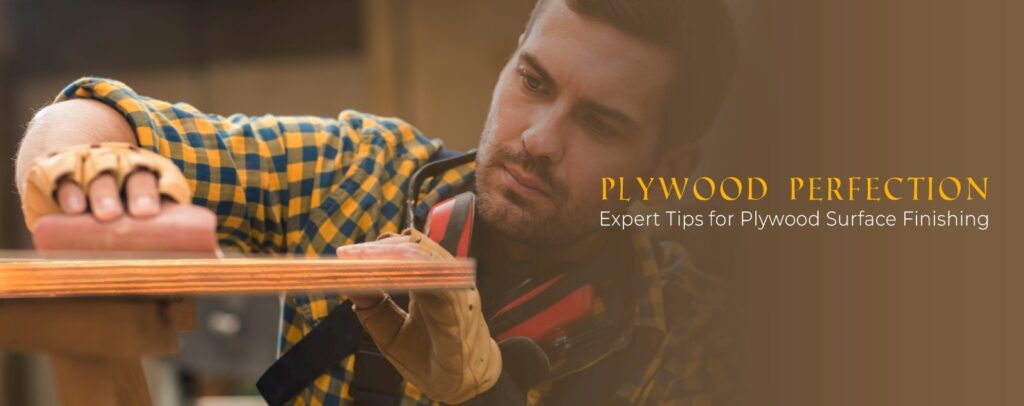
All the irregularities are gone. Use coarse-grain sandpaper and then work your way up to finer grits. This procedure improves the texture of the plywood and facilitates better finish adhesion.
When you are making the piece aesthetic, make sure you choose the right paint, varnish, lacquer and polyurethane. The right material depends on the level of protection needed for the piece, so plan wisely.
Usually, the edges absorb finishes differently. Here, you will need to apply a final coat, and when you do that, make sure that when it comes to edges, you use a thinner coat, or else it might look bumpy due to double finishing.
Testing always helps. So, we advise you to do a small-scale test on a scrap piece of plywood before finishing the procedure. This would let you see how the finish works with the wood, and in case you have made a mistake, you can correct it here in terms of the method or material used.
Just like winter fashion, we think even plywood loves layering.
If you apply multiple thin layers of coating rather than one thick layer, it will be fuller and smoother. Give each layer it’s time to dry and then begin the next one. Prettier and more durable.
Keep your plywood art away from dust and grime. This one step alone reduces the possibility of particles settling on your drying finish. We advise you to work in an area that is clean and well-ventilated and do not forget to clean your workstation and tools regularly.
Now that you know what all you can do to give your plywood surface a good touch of finishing, just make sure you go slow and steady to achieve perfection. Rushing through the steps could jeopardize your entire project. Further, we advise that for better results, or if the surface is difficult to deal with, you should get an expert’s help for finishing.


